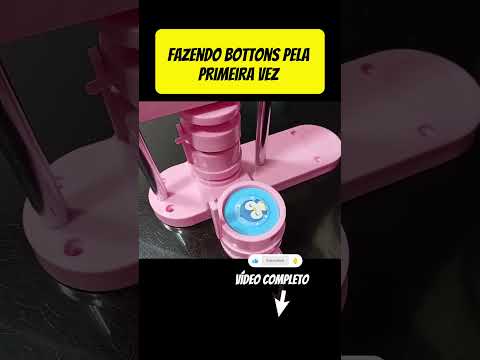
Custom pinback buttons are a fantastic way to express your creativity, promote a brand, or start a profitable DIY craft business. Whether you want to turn your original artwork into wearable art or create promotional giveaways for local events, learning how to press custom buttons is surprisingly simple and deeply satisfying.
Essential Tools for Button Crafting
Before diving into production, you will need a few basic supplies: - Button Shells & Backings: Available in various sizes with plastic or metal pinback styles. - Printed Designs: Scaled precisely to your button machine’s die size. - Mylar Film Covers: Clear plastic circles that protect the printed artwork from wear and water. - Paper Circle Cutter: To ensure clean, perfectly accurate circular cuts every time. - Button Maker: Investing in reliable manual or desktop machinery ensures crisp, professional crimps without frustrating slips or jams.
Step-by-Step Guide to Pressing Custom Buttons
Making your first batch of buttons takes just a few quick steps once your materials are prepared:
- Prepare Your Artwork: Print your artwork on standard printer paper (16lb to 24lb paper works best) and use a circle punch or adjustable cutter to trim your images.
- Load the Top Shell: Place the metal top shell into the primary die of your press, lay your paper design flat on top, and place a protective Mylar film over the image.
- Press the Top Component: Pull down the lever firmly. The compact craft machinery will pick up and hold the top components inside the upper die while you rotate the lower base.
- Crimp the Backing: Place the pinback base into the second die, rotate it beneath the upper mechanism, and pull the lever down a second time. This tightly crimps the edges together, securing your finished pin!
Pro Tips for Professional Results
To get the cleanest finish, avoid using paper that is too thick, as heavy cardstock can prevent the Mylar film from crimping properly. Additionally, keeping your button-making machinery clean and lightly lubricated will keep the moving parts operating smoothly for thousands of presses.
With just a bit of practice, you can easily produce dozens of custom pins in an hour. Grab your supplies, unleash your imagination, and start creating your own custom button collection today!